Rendering
The window around a recording, its colors and fonts, and the terminal indicators it can draw.
Window look
Frames are drawn by reel/render. By default you get just the cells, so screenshots stay exact, and you add a window around them with options on Profile.Render.
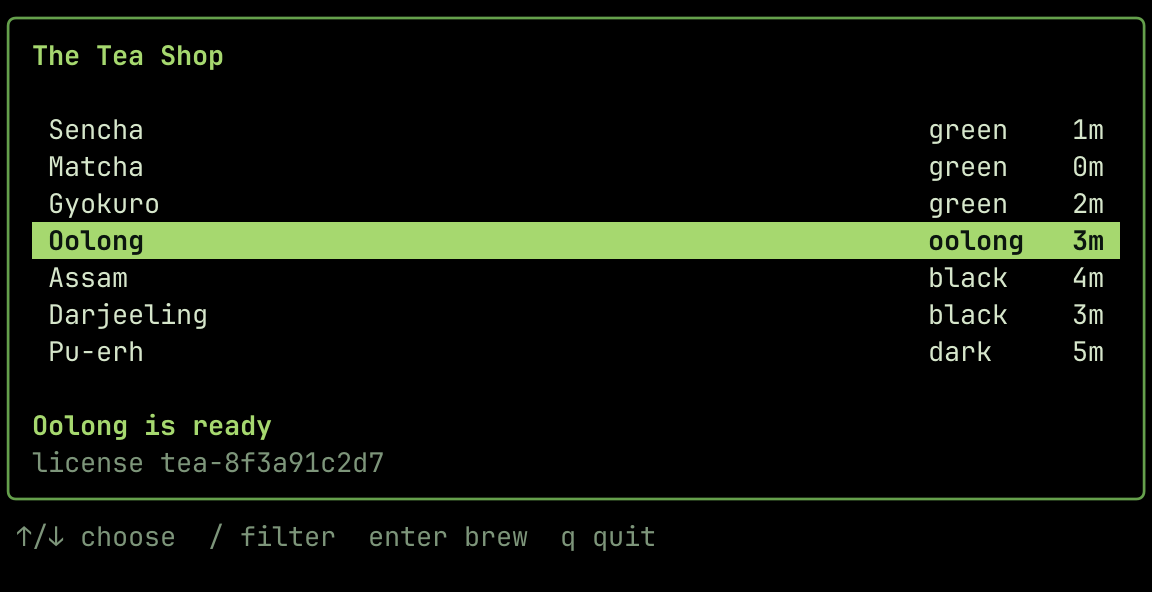
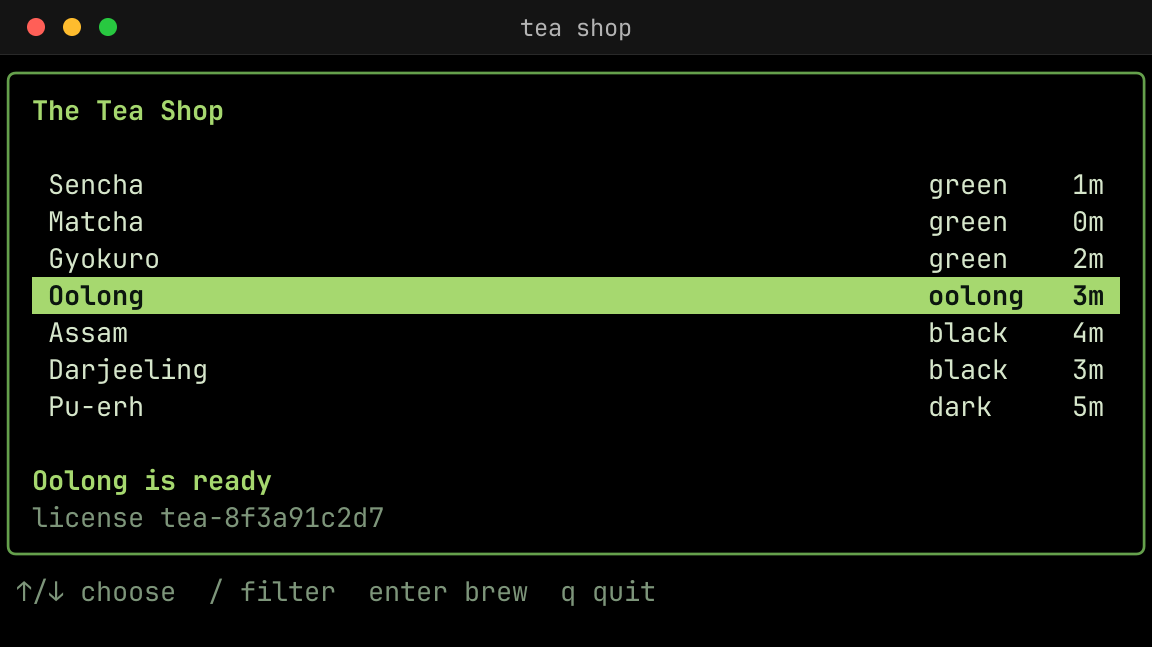
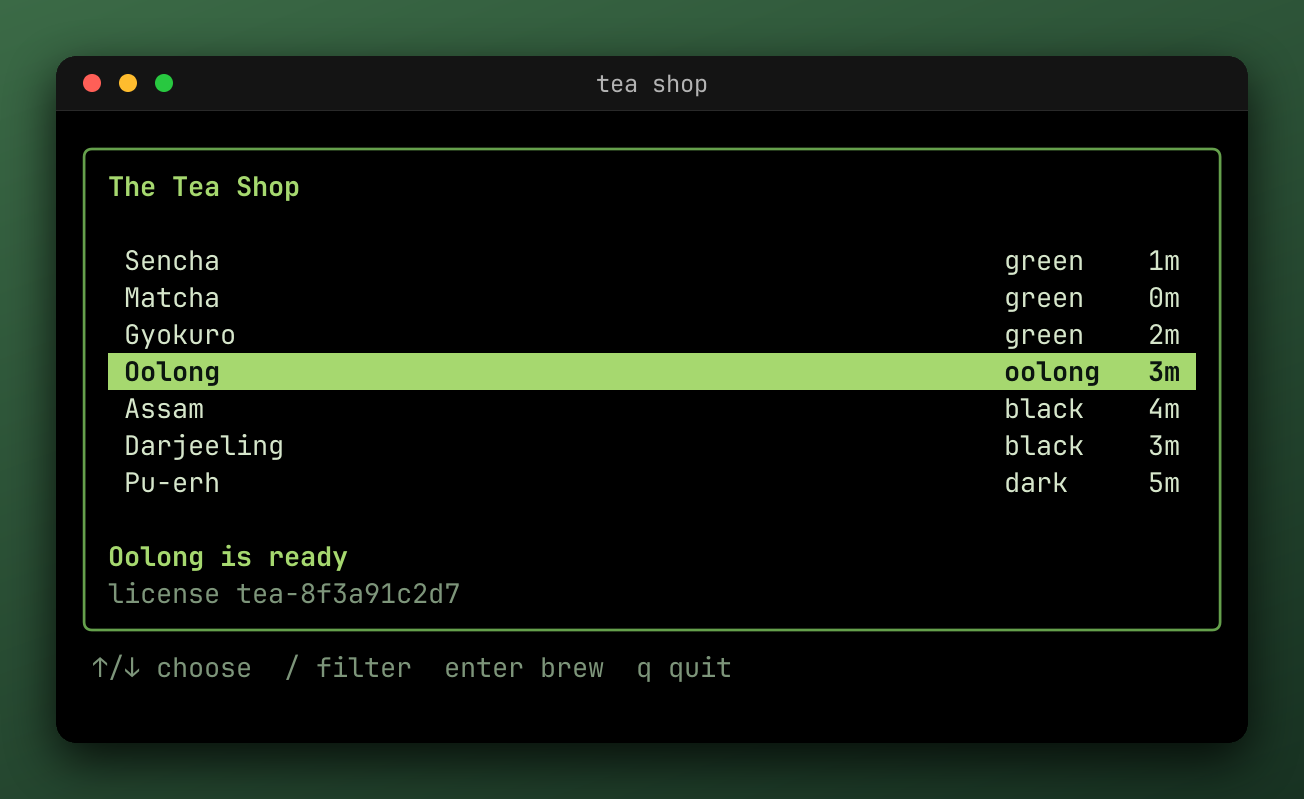
Render: []render.Option{
	render.WithScale(1.5),
	render.WithWindowChrome(true),
	render.WithPadding(20),
	render.WithMarginGradient(56, 160, lipgloss.Color("#3b6a46"), lipgloss.Color("#183222")),
	render.WithShadow(0, 18, 48, color.NRGBA{R: 0x04, G: 0x08, B: 0x05, A: 0xe6}),
	render.WithBorderRadius(20),
},| Option | Does |
|---|---|
WithWindowChrome(enabled) | Draws a title bar with window buttons, the title, and the working directory |
WithPadding(px) | Adds space around the terminal, inside the window |
WithMargin(px, fill) | Adds space around the window, in that color |
WithMarginGradient(px, angle, colors...) | Adds space around the window, filled with a gradient |
WithShadow(x, y, blur, color) | Draws a drop shadow behind the window, into the margin |
WithBorderRadius(px) | Rounds the window's corners |
WithFocusDimming(factor) | Dims the window while unfocused, 0.16 by default |
WithBackgroundOpacity(opacity) | Makes the background translucent |
Margin gradients
WithMarginGradient fills the margin with a linear gradient instead of one color. It takes the place of WithMargin, and whichever comes last wins.
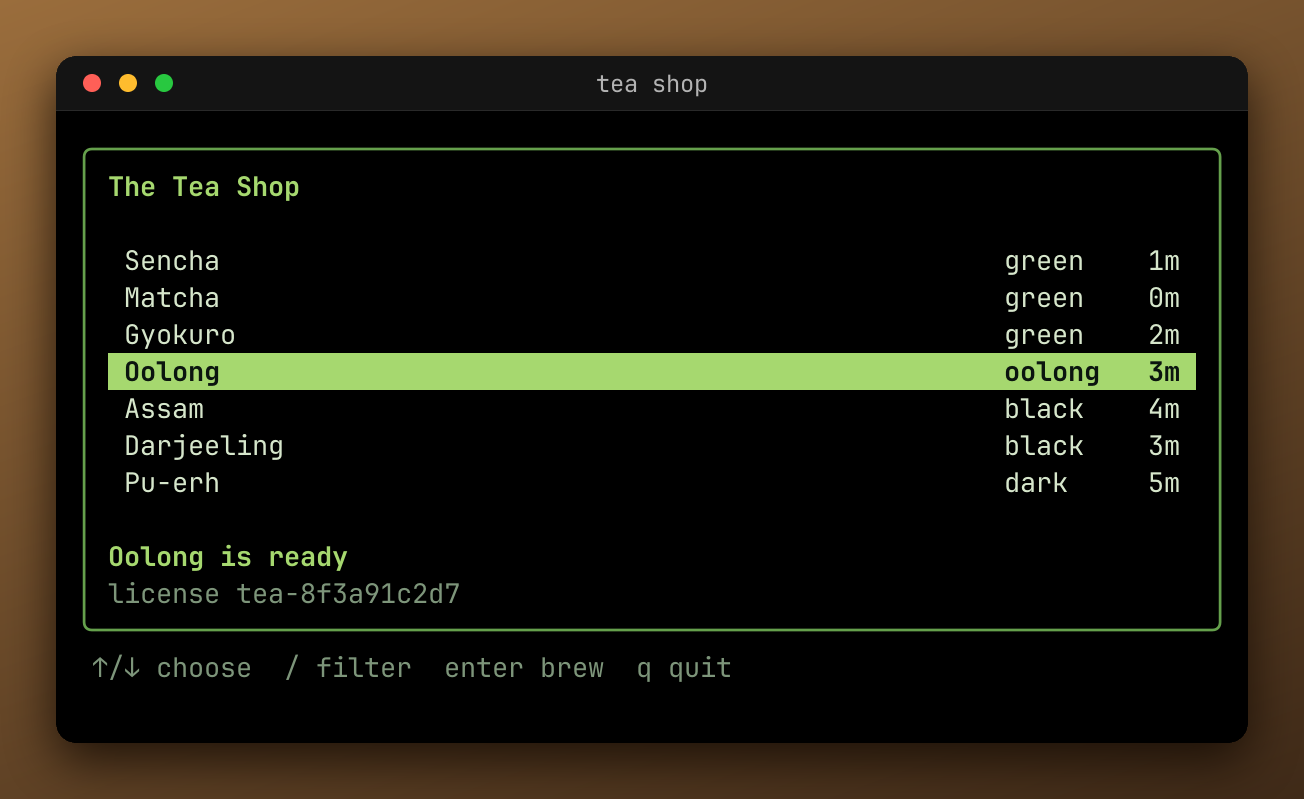
render.WithMarginGradient(56, 160, lipgloss.Color("#9a6d3c"), lipgloss.Color("#3f2a18")),The angle works like the angle in CSS linear-gradient: degrees clockwise from up, so 90 runs left to right, 180 top to bottom, and 135 from the top-left corner to the bottom-right. The colors are spaced evenly from one corner of the image to the opposite one, and the gradient shows behind the window's rounded corners too. Colors blend in the Oklab color space, as CSS gradients do by default, so lightness changes evenly and a color keeps its hue on the way to white or black instead of drifting (blue to white doesn't turn purple).
A GIF can only use 256 colors, and a gradient takes up more of them than a solid margin.
Drop shadow
WithShadow draws a shadow behind the window, as CSS box-shadow draws one: the window's shape, rounded as WithBorderRadius rounds it, moved x pixels right and y down, and blurred by blur pixels. A nil color is render.DefaultShadowColor, black at half opacity.
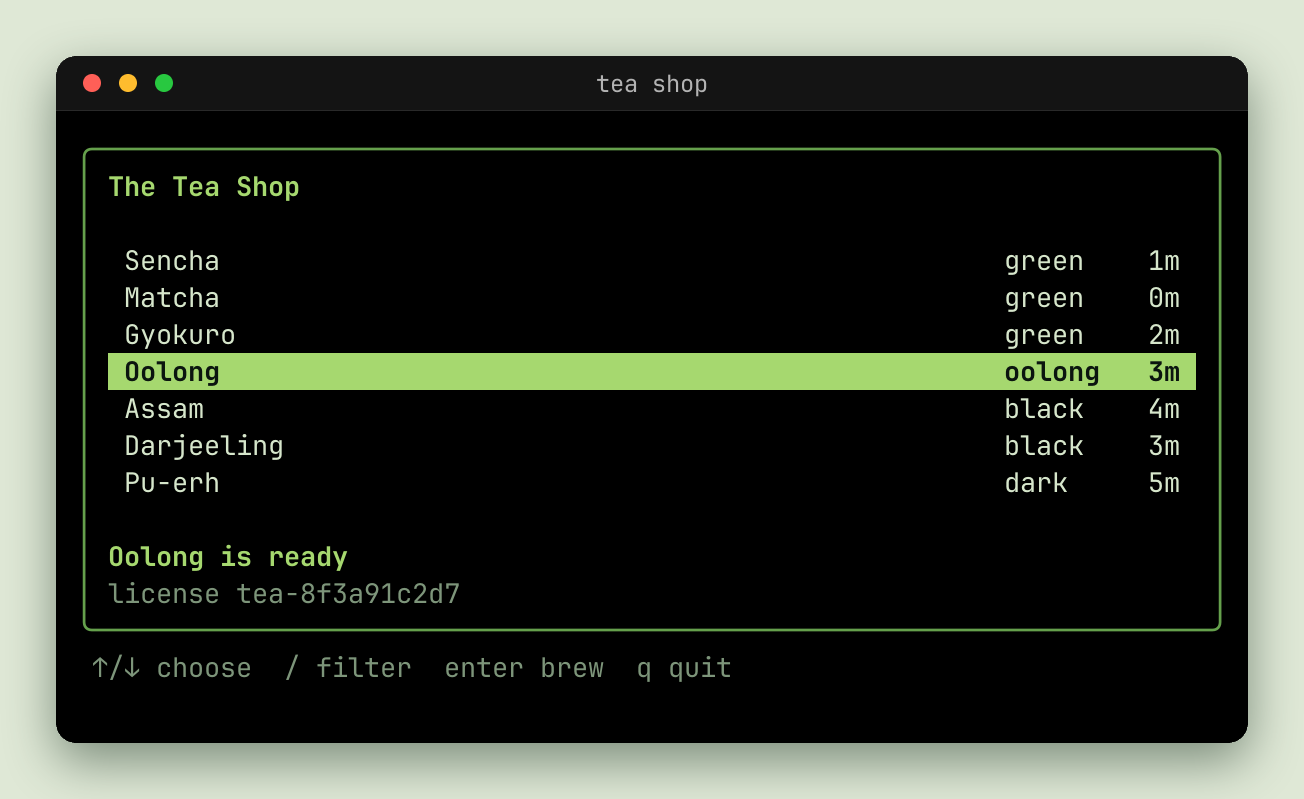
render.WithMargin(56, lipgloss.Color("#dfe8d6")),
render.WithShadow(0, 18, 48, color.NRGBA{R: 0x17, G: 0x30, B: 0x1f, A: 0x80}),
The shadow is drawn into the margin, over its color or gradient, and shows past the window's rounded corners too. It isn't drawn under the window, so a window made translucent with WithBackgroundOpacity doesn't darken. The margin should be at least as wide as the blur and the offset together, or the edge of the image cuts the shadow off. The renderer draws the margin and shadow once for each image size and copies them into every frame, so a shadow costs no more per frame than a solid margin.
Over a transparent margin, as WithMargin(px, nil) gives without a palette margin color, the shadow is translucent. PNG and WebP keep that. A GIF has no translucency, only one fully transparent color, so its translucent pixels turn opaque, and the soft edge becomes a hard dark one. Give the GIF a background, such as out.gif?background=%23ffffff (or sink.WithBackground), to composite each frame onto that color, or give the margin a color.
Size
WithScale sets the size of everything drawn from the font, so the cell size and the image grow with it. At 1, the default, that's 13.5pt at 96 DPI, or 18px. render.ScaleForFontSize(px) converts from a font size.
To say how big the image may be instead, use Profile.Fit, which chooses the scale for you, so text stays sharp rather than the image being resized:
reel.Profile{
	Fit: image.Pt(1280, 0), // at most 1280 pixels wide
}
Cells
The renderer has more options for the grid itself: WithCellWidth, WithCellHeight, WithCursorHeight, WithCursorThickness, WithFontBaseline, WithUnderlinePosition, WithUnderlineThickness, WithStrikethroughPosition, WithStrikethroughThickness, WithBoxThickness, WithFaintFactor, WithCursorBlinkSpeed, WithIconHeight, and WithIconHeightSingle. See reel/render.
Themes and palettes
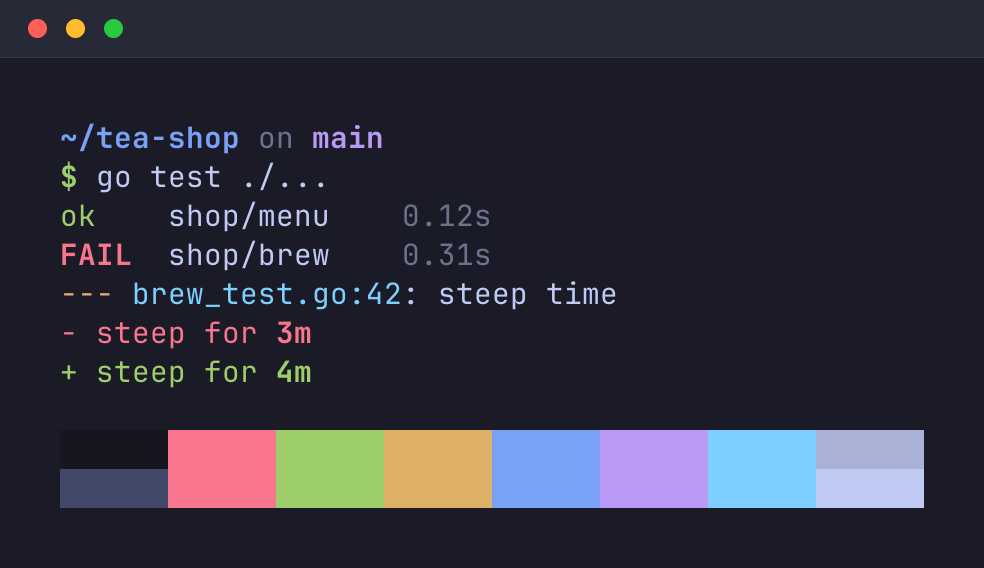
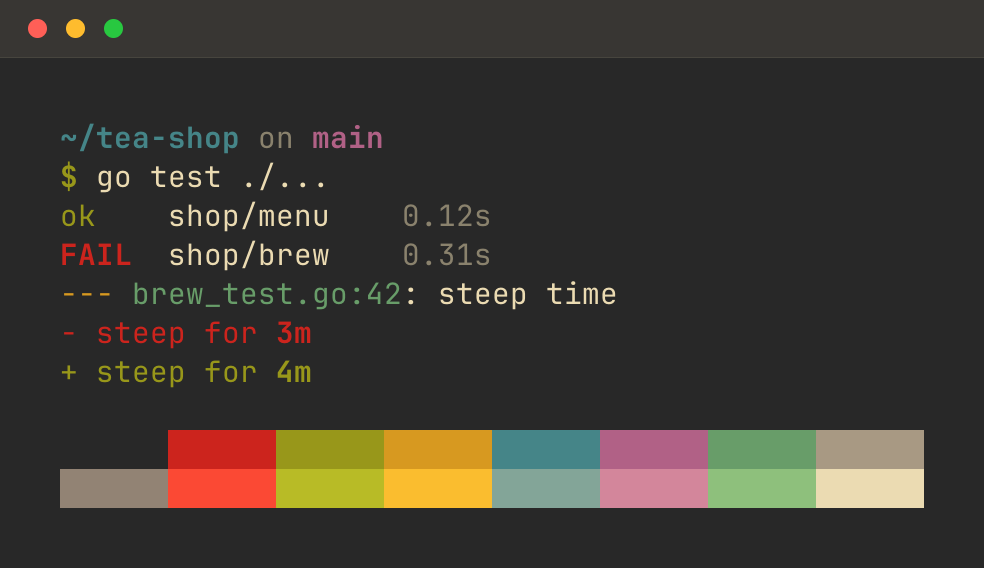
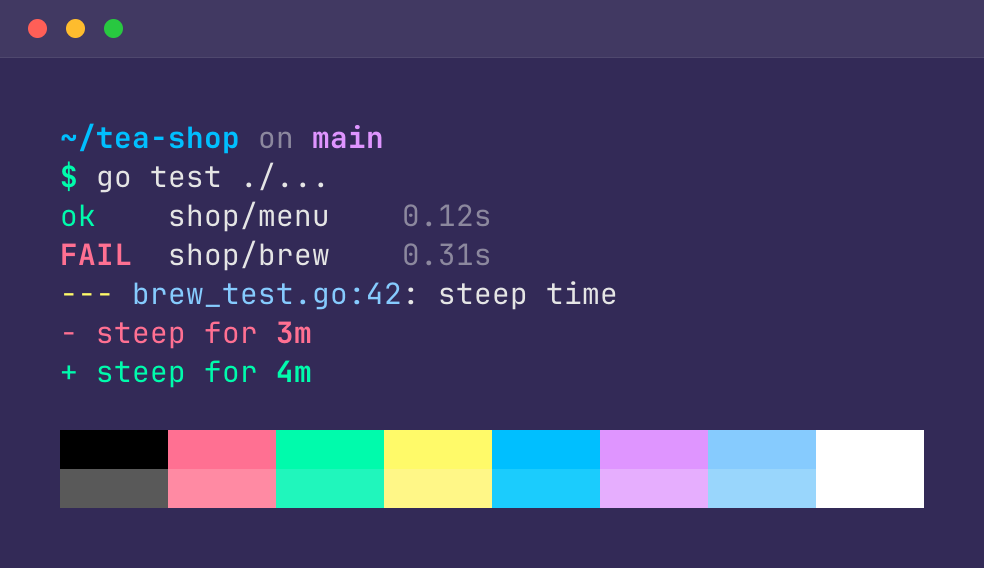
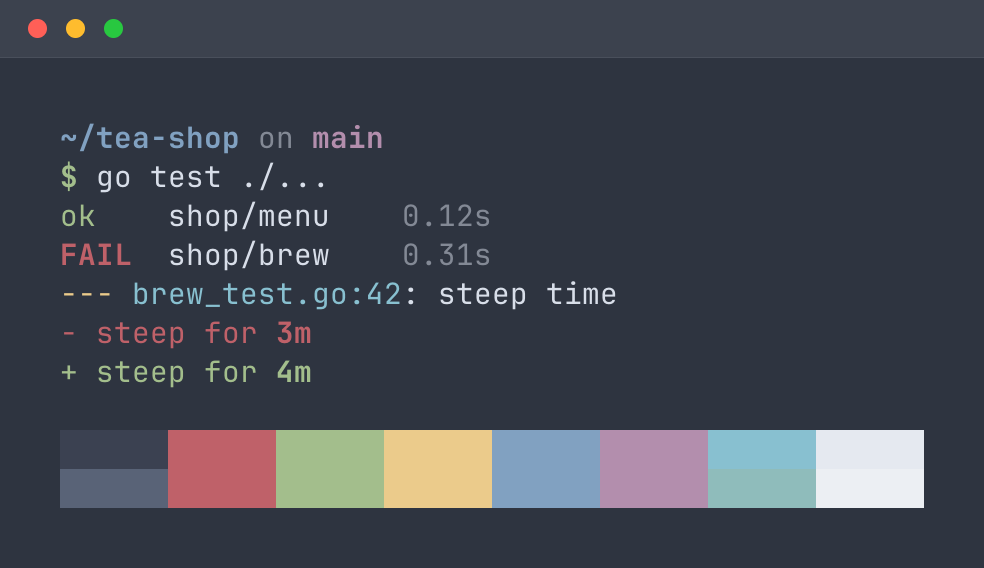
A palette sets the ANSI colors, the default foreground and background, the cursor, and the margin. Colors your program sets itself, in true color, are drawn as they are.
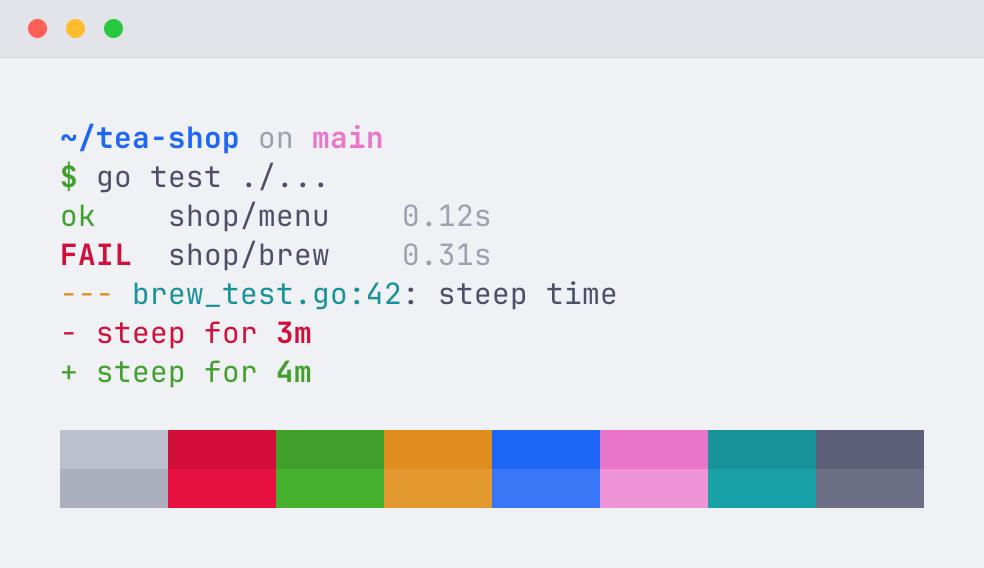
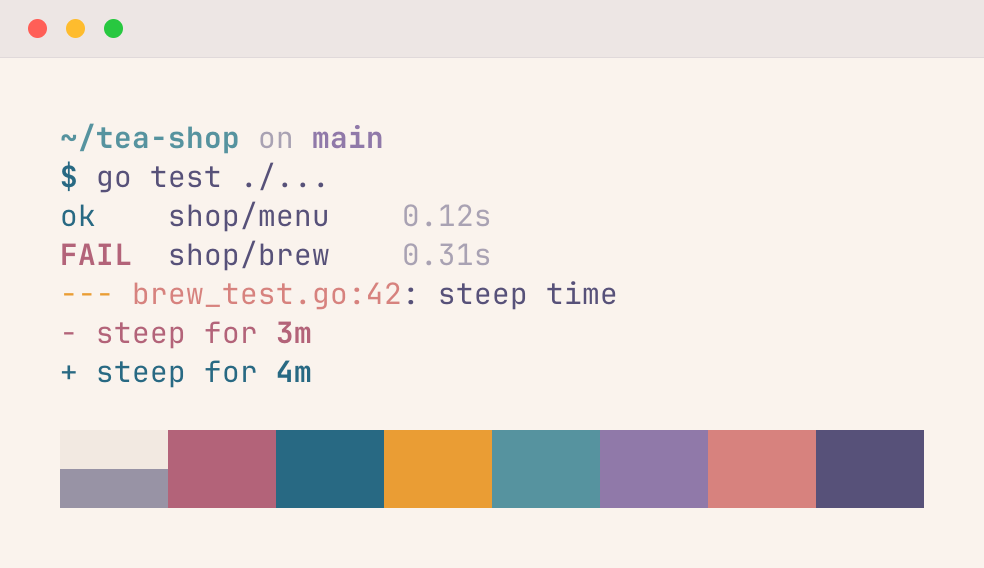
In Go
Render: []render.Option{
	render.WithPalette(render.Palette{ /* the colors you want */ }),
},
Fields left unset fall back to built-in defaults. It applies to every frame, whatever the format, and replaces the timeline's palette. Indexed colors the program set itself are drawn over it. bubbletint is a source of hundreds of themes, and it's what the CLI uses.
In the CLI
The CLI has them by name, with --theme:
reel run demo.tape --theme "Tokyo Night" -o demo.gifThe recording's colors
A session can also set colors while it records, with SetDefaultForeground and friends, or a program can set them itself. Those are events in the timeline, and a replay applies them. So a theme chosen at export time doesn't change what a recording set for itself.
Fonts
reel embeds fonts, so a recording draws the same on any machine with nothing installed. To use another family, name it. It has to be embedded or installed:
Render: []render.Option{render.WithFontFamilyName("JetBrains Mono")},Or for one test run, without changing it:
STEEP_RENDERER_FONT_FAMILY="FiraMono Nerd Font Mono" STEEP_EXPORT_MODE=on go test -artifacts ./...Construction fails with an error naming the family and the directories it searched, if it can't find it. The name is the family recorded in the font files, including the regular, bold, italic, and bold italic faces.
To see what's available, use reel fonts:
$ reel fonts | grep Mono | head -n 5
DejaVu Sans Mono
DejaVu Sans Mono Symbols
JetBrains Mono
Liberation Mono
Symbols Nerd Font Mono
Fonts are searched for in the usual directories for your platform: on Unix, that includes XDG_DATA_HOME and XDG_DATA_DIRS.
Icons
Programs that use Nerd Font icons need one to draw them. Use a Nerd Font as the primary family, or map only the icons' ranges to one, with WithCodepointMap.
Fallback
Runes that no configured or bundled font covers, such as CJK or emoji, can be drawn with an installed font. That's on by default. It makes the output depend on what's installed, so turn it off for output that has to be the same everywhere:
render.WithSystemFontFallback(false)The first such rune makes the renderer read every installed font, so it can be slow the first time.
On the command line
--font takes a comma-separated list, and uses the first that's installed, with --font-size, --letter-spacing, and --line-height. See Appearance.
Terminal indicators
A program can tell its terminal more than what to show. The renderer can draw that too.
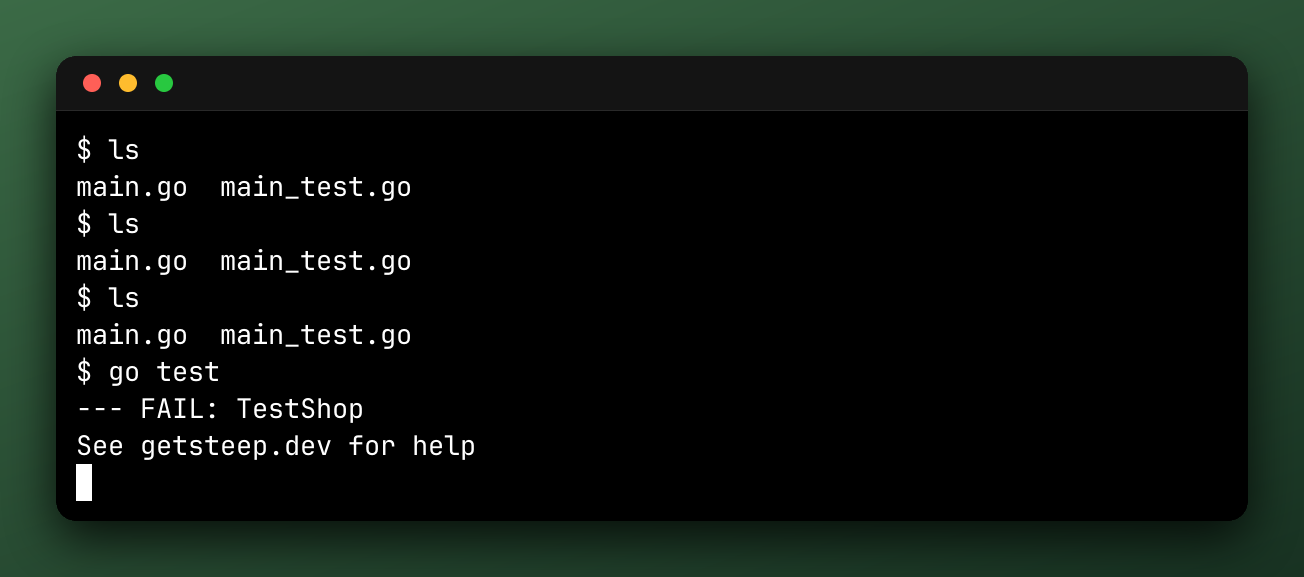
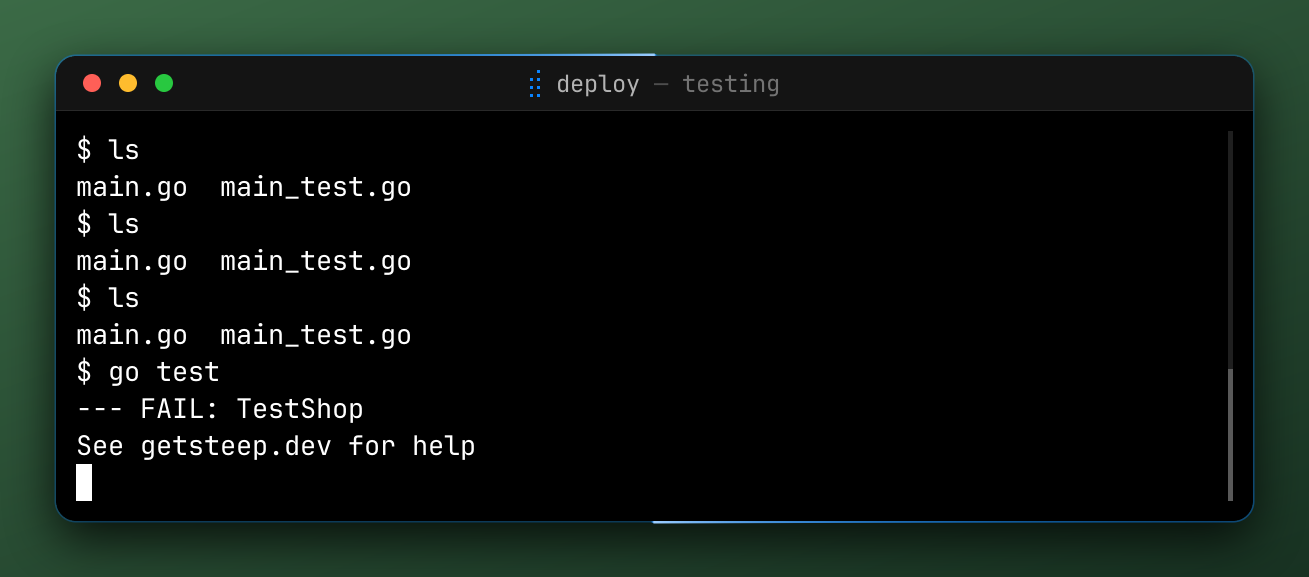
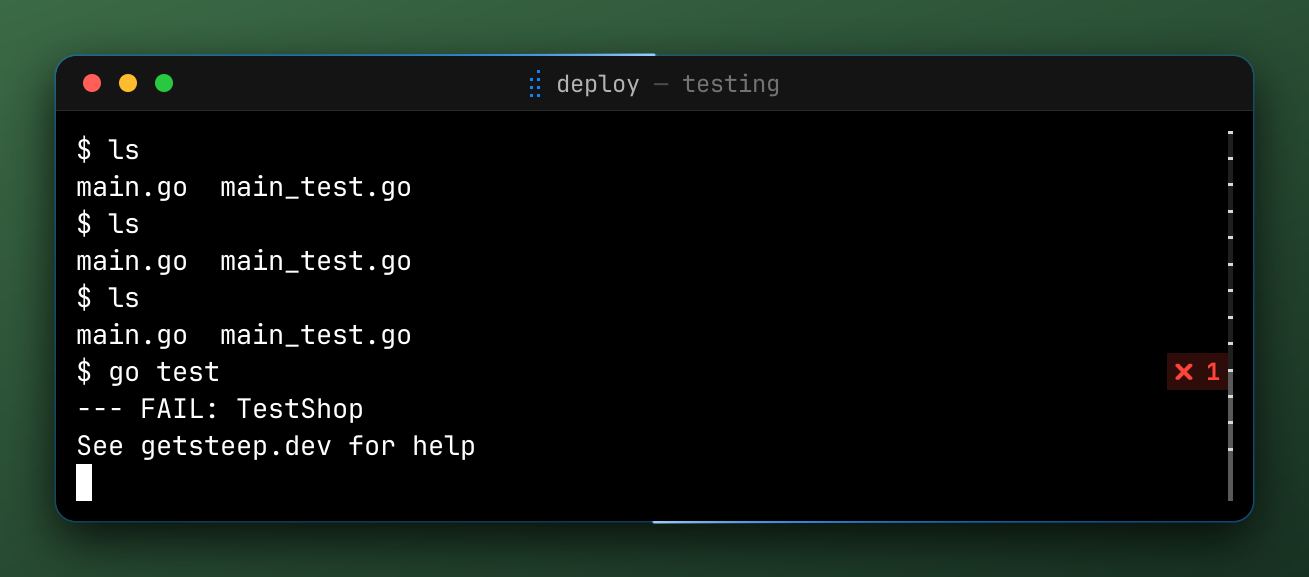
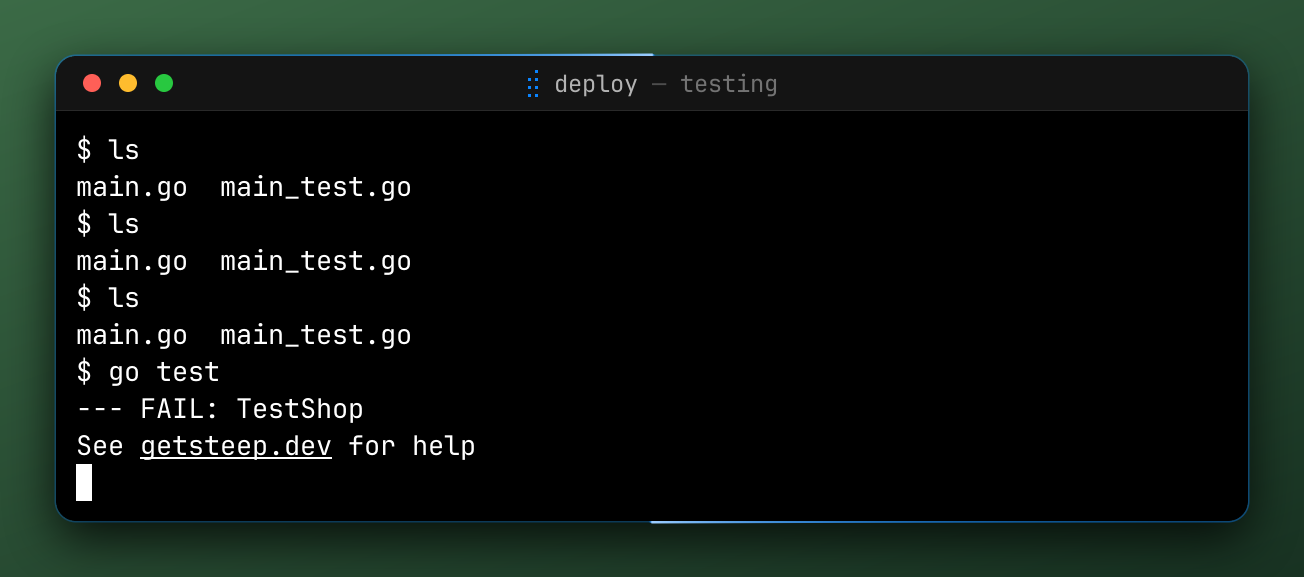
| Option | Draws | From | Default |
|---|---|---|---|
WithProgressBar(enabled) | A thin progress bar, under the title bar or at the window's top edge | OSC 9;4 | On |
WithProgramStatus(enabled) | Replaces the title with a state icon, title, and message, and outlines the window. Needs window chrome. | OSC 7501 | On |
WithScrollbar(enabled) | A scrollbar, only when there's scrollback and not on the alternate screen | The viewport | Off |
WithPromptMarks(enabled) | A badge on a failed command's row, and with a scrollbar, a tick for each prompt | OSC 133 | Off |
WithBell(enabled) | A flash of the window, and a 🔔 before the title | BEL | Off |
WithLinkUnderline(enabled) | An underline on hyperlinked cells | OSC 8 | Off |
Each draws what's in the terminal at that frame, so it needs your program to send the sequence. For Bubble Tea, a progress report is view.ProgressBar:
v := tea.NewView(content)
v.ProgressBar = tea.NewProgressBar(tea.ProgressBarDefault, percent)
These are drawn from the recording, so they're on by export, not at record time. You can export the same .cast with and without them.
The notifications a program sends aren't drawn by the renderer, since a terminal doesn't have anywhere to show them. To show them, use effects.Toasts.
Last updated on